SiteGround Htaccess File Settings Tutorial
Tutorial Hosting
Introduction:
In this tutorial, we will guide you step-by-step on how to find the .htaccess file inside your Siteground dashboard. We will show you where to locate this file and how you can make changes to it if needed. Let’s get started!
Step 1: Accessing Siteground Dashboard
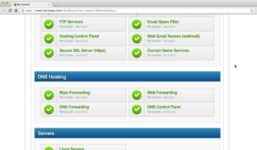
The first step is to log in to your Siteground account and navigate to the dashboard. Once you are in the dashboard, locate the side tools panel for the website that you want to access the .htaccess file for. In this tutorial, we will use the example of the website learninglab.com.
Step 2: Navigating to .htaccess File
Within the Siteground dashboard, find the option to access the file manager. Click on the “Site” option with your left mouse button, and then look for the “File Manager” option at the top of the page. Click on it to proceed.
Step 3: Locating .htaccess File
Once you are in the file manager, you will be able to see all the folders and files of your website. Navigate to the website folder (e.g., learninglab.com) and then enter the “public HTML” folder. Expand this folder by clicking on the arrow next to it.
Step 4: Editing .htaccess File
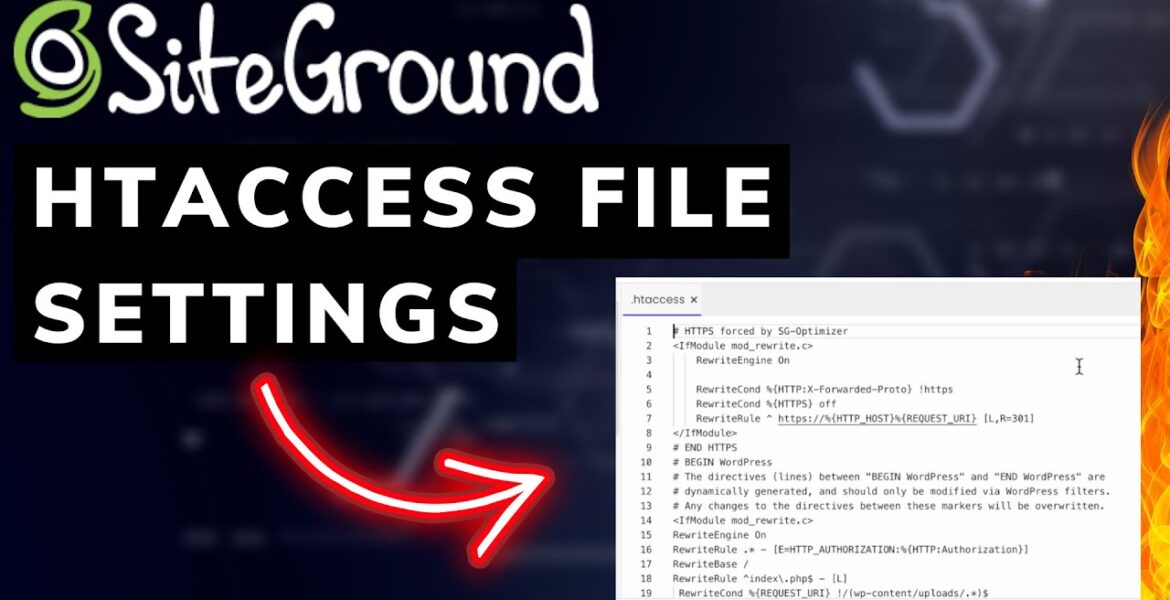
Inside the public HTML folder, you will find the .htaccess file. You can click on it to edit it directly, or double tap on it to open and view the file contents. If you need to make any changes to the .htaccess file, you can do so at this stage.
Step 5: Saving Changes
After you have made the necessary changes to the .htaccess file, click on the “Save” option to save your settings. The changes will be applied immediately to your website. You have now successfully located and edited the .htaccess file on your Siteground dashboard.
Conclusion:
Congratulations! You have learned how to find the .htaccess file within your Siteground dashboard and make changes to it. Don’t forget to give this tutorial a thumbs up if it was helpful, subscribe to our channel for more tutorials, and hit the notification bell to stay updated on new videos. Thank you for watching and we’ll see you in the next video!