How to Fix Blurry Background or Strip Images on Website – Wix Tutorial with Wix Expert Sara Michaels Tutorial Hosting
Welcome to this Tutorial: How to Fix Blurry Images on Your Wix Website
In today’s tutorial, we’re going to tackle one of the most frustrating issues many Wix website owners face: blurry images. You know, that annoying phenomenon where your beautiful photos look grainy and pixelated on your website. Don’t worry; it’s an easy fix, and we’re going to cover it step-by-step in this tutorial.
Why Do Blurry Images Happen on Wix Websites?
The reason your images might be blurry on your Wix website is due to the formatting. When you upload images to your website, they might not be optimized for web use. Wix offers a library of free images that you can use for your website, which can be a great solution. However, if you’re uploading your own images, you might be using the wrong file format, which can lead to blurry images.
The Importance of File Formats
When it comes to images, there are two main file formats: JPEG and PNG. JPEGs are smaller in size and are suitable for social media posts or small images. However, when you’re using images as backgrounds or headers on your website, you want to use PNGs, which are larger in size and provide higher-quality images.
How to Fix Blurry Images on Your Wix Website
So, how do you fix blurry images on your Wix website? Here’s a simple step-by-step process:
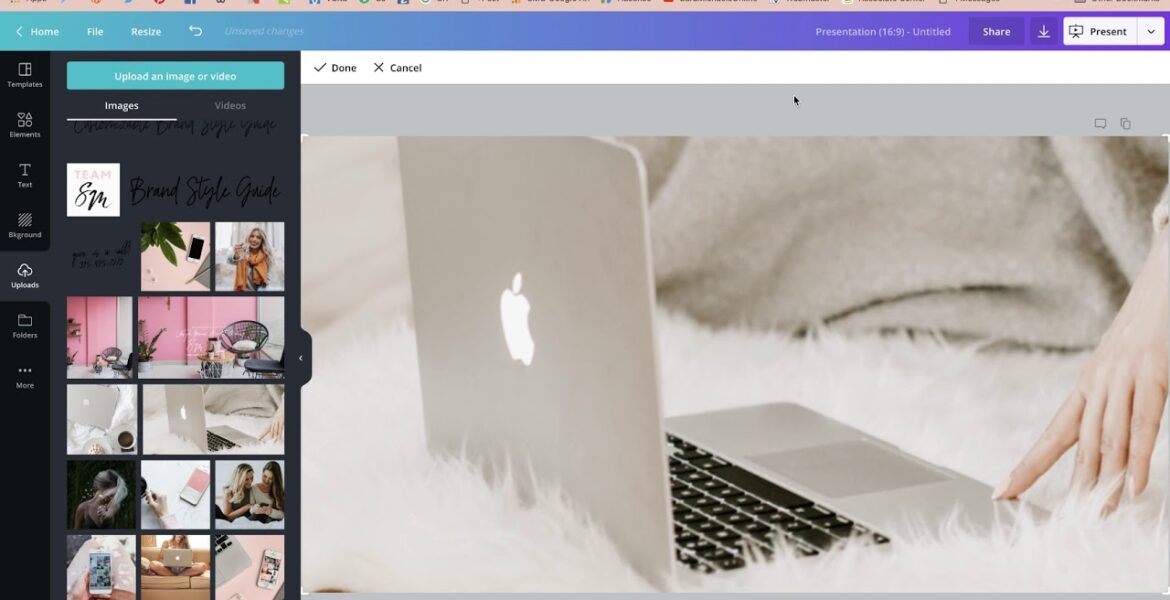
Step 1: Upload Your Image to Canva
Open Canva, a free graphic design platform, and upload your image. Canva offers a range of templates and design tools that you can use to edit your image. For this tutorial, we’re going to focus on uploading your image and optimizing it for web use.
Step 2: Resize and Optimize Your Image
Once you’ve uploaded your image to Canva, resize it to fit your website’s layout. You can use the crop tool to adjust the dimensions of your image. When you’re satisfied with the size, download your image as a PNG file.
Step 3: Upload Your Optimized Image to Wix
Go to your Wix website editor and upload your optimized PNG image. Make sure to select the image the "Scale to Fill" option to ensure that your image is displayed at its best quality.
Step 4: Adjust the Image Settings
Adjust the image settings to suit your website’s design. You can use the image settings to crop, resize, and adjust the opacity of your image.
Step 5: Use High-Quality Images
Finally, make sure to use high-quality images for your website’s backgrounds and headers. Avoid using images that are too small or low-resolution, as they can appear blurry and pixelated.
Tips and Tricks
Here are some additional tips and tricks to help you fix blurry images on your Wix website:
- Use Wix’s free image library for high-quality images.
- Optimize your images for web use by resizing and compressing them.
- Use PNG files for high-quality images and JPEG files for smaller images.
- Avoid using images that are too small or low-resolution.
- Experiment with different image settings to find the perfect look for your website.
Conclusion
In conclusion, fixing blurry images on your Wix website is a simple process that requires a few easy steps. By following this tutorial, you should be able to optimize your images and ensure that they appear high-quality and crisp on your website. Remember to use Wix’s free image library, optimize your images for web use, and experiment with different image settings to find the perfect look for your website. Happy designing!
Special Offer
As a special offer, we’re giving you the opportunity to join our VIP community for just $11 for your first month. As a member of our community, you’ll get access to exclusive training, network opportunities, and a weekly live Q&A session with me. Join our community today and take your website to the next level!
Stay Tuned
Don’t forget to stay tuned for our upcoming course, "The Style at Yourself Course," which will be launching soon. This course is designed to help you overcome the frustration and overwhelm of getting your website up and running in just two weeks or less. Join our waitlist today and get exclusive access to this course, plus a waitlist-exclusive coupon code to put towards your course.


